
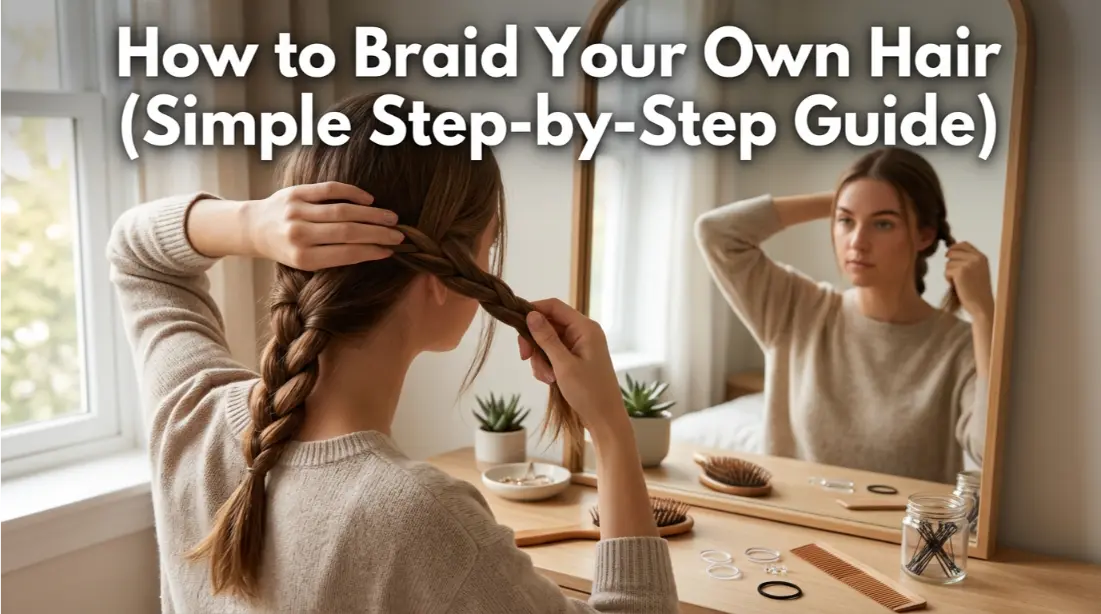
Learning how to braid your own hair can feel difficult at first, but once you understand the basic hand movement, it becomes one of the easiest and most useful hairstyles you can do by yourself. Braids are not only stylish but also practical because they keep your hair neat, controlled, and protected throughout the day.
Many people struggle in the beginning because both hands need to work together in a coordinated way. But with a little practice, even beginners can master simple braids and move toward more advanced styles like French or Dutch braids.
In this guide, you will learn how to braid your own hair step by step, common mistakes to avoid, and practical tips that make the process easier even if you are a complete beginner.
Why Learning to Braid Your Own Hair is Useful
Braiding your own hair is more than just a styling skill. It is a practical routine that saves time and helps you manage your hair in daily life.
From personal experience, many people find braids extremely helpful on busy mornings when there is no time for heat styling or complex hairstyles. Once you learn it properly, you can create a neat look in just a few minutes.
Braids are also protective, especially for long or textured hair. They reduce tangling and help prevent breakage caused by constant brushing or heat tools.
Basic Tools You Will Need
Before starting, make sure you have simple tools ready:
- A hairbrush or wide-tooth comb
- A mirror (preferably two for better visibility)
- Small hair elastics
- Optional: light hair spray or water spray
Clean, detangled hair makes the braiding process much easier and smoother.
Step-by-Step: How to Do a Simple Three-Strand Braid
This is the most basic braid and the foundation for all other braid styles.
Step 1: Brush Your Hair
Start with smooth and knot-free hair. Tangles will make braiding uneven and messy.
Step 2: Divide Hair into Three Sections
Take all your hair and split it into three equal parts. Hold one section in each hand and let the third hang in the middle.
Step 3: Start Braiding
Cross the right section over the middle section. Now the right becomes the middle.
Then cross the left section over the new middle section. Repeat this pattern slowly.
Step 4: Continue Downward
Keep repeating the same movement until you reach the end of your hair.
Step 5: Secure the Braid
Use a small elastic band to tie the end so the braid stays in place.
Common Mistakes When Braiding Your Own Hair
Many beginners make similar mistakes, which make the braid loose or uneven.
- Taking uneven sections of hair
- Braiding too tightly, causing discomfort
- Not brushing hair properly before starting
- Losing grip while switching hands
- Rushing the process instead of going step by step
From experience, slow and steady practice always gives better results than trying to rush a perfect braid.
How to Make Braiding Easier (Expert Tips)
Here are some practical tips based on real hair styling experience:
- Practice in front of a mirror to improve hand coordination
- Start with slightly damp hair for better control
- Use light styling cream if your hair is too slippery
- Begin with simple braids before trying French or Dutch styles
- Do not worry if your braid is not perfect in the beginning
With time, your hands naturally learn the movement and it becomes automatic.
Different Types of Simple Braids You Can Try
Once you learn the basic braid, you can explore other styles:
1. French Braid
Starts from the crown and includes more hair as you go down.
2. Dutch Braid
Similar to French braid but appears more raised and 3D.
3. Side Braid
A simple braid done over one shoulder for a soft look.
4. Twin Braids
Two braids on both sides, popular for casual and sporty styles.
Each style uses the same basic technique with small adjustments.
Hair Type Guide for Braiding
Different hair types behave differently while braiding:
Straight Hair
Easy to braid but may need light spray for grip.
Wavy Hair
Naturally holds braids well and adds texture.
Curly Hair
Needs gentle detangling before braiding to avoid breakage.
Thick Hair
May require sectioning clips for easier control.
Real Experience Insight
From real-world styling experience, most beginners feel frustrated in the first 2–3 attempts. Hands feel awkward, and the braid may not look even. But after repeated practice, muscle memory develops and the process becomes smooth.
A common observation among hair stylists is that people who practice 10–15 minutes daily for a week improve much faster than those who try only once or twice a month.
The key is consistency, not perfection.
Maintenance Tips After Braiding
- Do not keep tight braids for too long
- Sleep on silk pillowcase to reduce friction
- Avoid pulling braid too tightly at scalp
- Use light oil on ends if hair feels dry
Conclusion
Learning how to braid your own hair is a useful skill that becomes easier with practice. At first, it may feel confusing, but once your hands get used to the movement, it becomes a quick and effortless hairstyle option.
The most important thing is patience. Do not aim for perfect braids immediately. Focus on learning the pattern, and improvement will come naturally over time.
With regular practice, you will be able to create neat, stylish braids in just a few minutes, making it one of the most practical everyday hairstyles you can learn.
Frequently Asked Questions
1. Is it hard to braid your own hair?
It can feel difficult in the beginning, but with practice it becomes very easy.
2. How long does it take to learn braiding?
Most people learn the basic braid within a few days of practice.
3. Should hair be wet or dry for braiding?
Slightly damp hair is easier for beginners because it gives better control.
4. Why does my braid look uneven?
Uneven sections or rushing the process usually causes this issue.
5. Can short hair be braided?
Yes, but it depends on length. Medium to long hair works best for most braid styles.